
Latest News
- Home
- Latest News
- Why Do Self Tapping Screws Fail? 7 Common Problems and How to Fix Them
Self tapping screws are widely used in sheet metal, roofing, HVAC systems, electrical enclosures, vehicle components and general fabrication. Their main advantage is their ability to form matching threads inside the receiving material as they are driven, reducing installation steps and providing a secure mechanical connection.
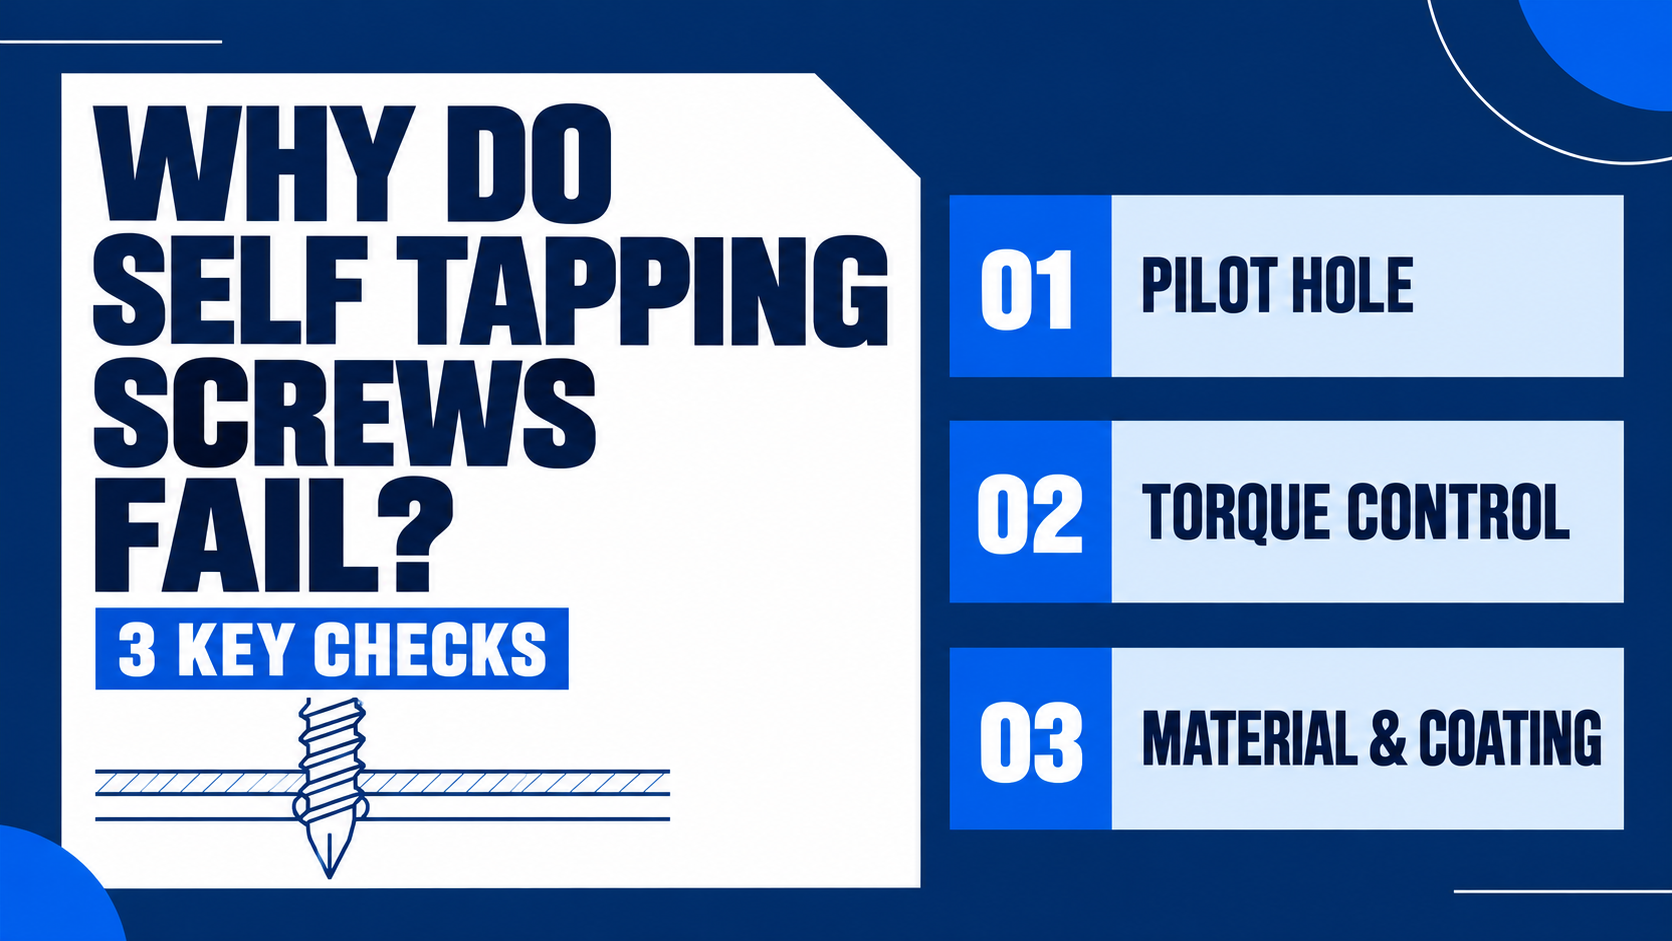
However, self tapping screws do not automatically guarantee a strong fastening. A screw may spin without tightening, snap during installation, strip the receiving material or gradually loosen after exposure to vibration and weather. In most cases, the problem is not the basic concept of the screw—it is a mismatch between the fastener, material, pilot hole, driver setting or installation method.
How Do Self Tapping Screws Work?
Self tapping screws form or cut mating threads as they enter a prepared hole or suitable material. Unlike an ordinary machine screw, they do not always require a separately tapped internal thread.
The term is sometimes confused with self-drilling screws, but the two are not identical:
- Self tapping screws form or cut their own threads and may require a pilot hole
- Self-drilling screws have a drill-shaped point that creates the hole before the threads engage
- Every self-drilling screw is designed to tap threads, but not every self tapping screw can drill its own starting hole
Whether a pilot hole is required depends on the screw design, substrate material, material hardness and total thickness being fastened.
Why Do Self Tapping Screws Fail?
Most fastening failures can be traced to one or more of the following conditions:
| Problem | Likely cause | Recommended action |
|---|---|---|
| Screw spins without tightening | Hole too large or threads stripped | Use the correct pilot hole or move to an approved larger fastener |
| Screw will not start | Material is too hard or point is unsuitable | Drill a pilot hole or use a suitable self-drilling screw |
| Screw snaps | Excessive torque, poor alignment or excessive material thickness | Reduce driver torque and verify screw capacity |
| Head strips | Incorrect bit, worn tool or excessive speed | Use the correct, unworn driver bit |
| Screw becomes loose | Insufficient thread engagement or vibration | Review length, thread design and installation torque |
| Metal sheet deforms | Fastener is overtightened | Use an adjustable clutch and stop at proper seating |
| Rust develops | Coating is damaged or unsuitable for the environment | Select an appropriate corrosion-resistant fastener |
Understanding the visible symptom is the first step. Simply replacing the failed screw with an identical one may reproduce the same problem.
Problem 1: The Screw Spins but Does Not Tighten
A self tapping screw that continues to rotate without clamping the materials has usually lost its thread engagement.
Common causes include:
- The pilot hole is too large
- The screw has been removed and reinstalled several times
- Excessive torque has stripped the threads in thin sheet metal
- The screw diameter is too small for the existing hole
- The receiving material is too soft or too thin
- The screw was driven at an angle
This problem is especially common in thin sheet metal because there is only a limited amount of material available for thread formation.
To prevent it, confirm the recommended pilot hole diameter for the selected screw and substrate. Do not rely on one universal drill size, because different screw diameters, thread forms and materials may require different holes.
If the hole is already stripped, the correct repair may involve an approved larger screw, a threaded insert, a rivet nut or relocation to sound material. The appropriate option depends on the structural and waterproofing requirements of the application.
Problem 2: The Screw Cannot Penetrate the Material
Some installers assume that all self tapping screws can be driven directly into metal. In reality, a self tapping screw may form its own threads but still need a pilot hole.
If the point cannot penetrate the surface, forcing the screw may:
- Overheat or blunt the point
- Damage the protective coating
- Strip the drive recess
- Cause the screw to wander
- Break the screw
- Scratch or distort the workpiece
Before installation, identify whether the product is a thread-forming self tapper, thread-cutting self tapper or self-drilling screw.
For hard or relatively thick steel, a pilot hole or a self-drilling screw with sufficient drilling capacity may be required. Always compare the total material thickness with the manufacturer’s specified drilling or fastening capacity.
Problem 3: The Self Tapping Screw Snaps During Installation
A broken screw is often treated as a product defect, but installation conditions must also be inspected.
Self tapping screws may snap because of:
- Excessive installation torque
- A pilot hole that is too small
- Material thickness beyond the screw’s capacity
- Misalignment between joined components
- Driving at an angle
- Excessive driver speed
- Reusing a damaged screw
- Contact with an obstruction behind the material
When a screw stops advancing, do not keep applying more torque. Remove it and inspect the point, threads, hole alignment and substrate thickness.
Use a driver with an adjustable clutch and begin at a controlled setting. The screw should advance steadily and seat firmly without twisting, bending or crushing the connected material.
A snapped screw should not be ignored, particularly on roofs or exterior cladding. The remaining section can interfere with replacement fasteners, create an incomplete seal or leave damaged coating around the hole.
Problem 4: The Screw Head or Drive Recess Strips
A damaged Phillips, square, Torx or hex drive prevents correct torque transfer. It can also make future maintenance difficult.
The most common causes are:
- Using the wrong driver bit
- Using a worn bit
- Holding the driver at an angle
- Applying insufficient pressure
- Running the driver too fast
- Continuing to drive after the screw is fully seated
The driver bit should fit the screw head closely, without excessive movement. Replace worn bits early rather than waiting until they begin damaging fasteners.
For repetitive installation, maintain the driver perpendicular to the work surface. A depth-controlled or clutch-controlled tool can improve consistency and reduce damage to both the head and the substrate.
Problem 5: The Screw Becomes Loose After Installation
A screw that feels tight on installation day may loosen later because of vibration, thermal movement, wind loading or insufficient thread engagement.
Potential causes include:
- The screw is too short
- Too few threads engage the receiving material
- The thread pitch is unsuitable
- The pilot hole is oversized
- The substrate is too thin
- The connected materials expand at different rates
- The screw was undertightened
- The original threads were damaged during installation
Longer is not automatically better. The correct length must allow adequate engagement without striking concealed wiring, plumbing or other components.
For metal roofing and exterior cladding, movement caused by temperature changes must also be considered. Correct fastener spacing, washer compression and installation position all contribute to long-term performance.
In vibration-prone machinery or equipment, a standard self tapping screw may not be the complete solution. The connection may require a vibration-resistant fastener, locking feature or redesigned joint approved for the application.
Problem 6: The Material Dents, Cracks or Deforms
Self tapping screws can damage thin metal, plastics, composite panels and roofing sheets when installation force is not properly controlled.
Visible warning signs include:
- Dimpling around the screw head
- Cracks radiating from the hole
- Warped sheet edges
- Crushed sealing washers
- Buckled roof profiles
- Distortion between adjacent fasteners
Overtightening is a frequent cause. Once the screw head contacts the surface or washer, additional torque may no longer improve holding strength. Instead, it can strip the substrate, deform the panel or destroy the sealing component.
Plastic and polycarbonate products require particular care because they may expand, contract or crack when fastened too tightly. Installation must follow the sheet manufacturer’s requirements for hole clearance, fastener position, spacing and washer use.
Problem 7: Rust Appears Around the Screw
Rust around a self tapping screw may indicate more than cosmetic discolouration. Corrosion can reduce the fastener’s cross-section, damage the surrounding sheet and eventually compromise the connection.
Common causes include:
- Using an unsuitable coating for the environment
- Damage to the coating during installation
- Metal swarf left on the roof or panel
- Galvanic interaction between dissimilar metals
- Constant moisture around the fastener
- A failed or incorrectly compressed sealing washer
- Exposure to coastal salt or industrial contaminants
Outdoor fasteners should be selected for the actual exposure conditions—not simply labelled “rust resistant.” Coastal, high-humidity and industrial environments may require a different material or coating system from dry inland applications.
After drilling or fastening metal sheets, remove swarf and loose metal particles. These particles can rust quickly and stain the surrounding surface, even when the main fastener remains protected.
How to Choose the Correct Self Tapping Screws
A reliable selection process should consider the entire joint instead of choosing a screw by length alone.
1. Identify the Materials Being Joined
Determine whether the application is:
- Metal to metal
- Plastic to metal
- Timber to metal
- Composite panel to steel
- Roofing sheet to timber
- Roofing sheet to steel
Each combination places different demands on the point, thread, head and coating.
2. Measure the Total Material Thickness
The screw must pass through the top material and achieve adequate engagement in the supporting substrate. For self-drilling products, the drill point must also completely penetrate the material before the threads begin to engage.
3. Select the Right Thread Design
Fine and coarse threads perform differently in various substrates. Thin sheet, thick steel, timber and plastic should not automatically use the same thread form.
Use the manufacturer’s application data when selecting thread pitch and diameter.
4. Choose the Correct Head Style
| Head style | Typical purpose |
|---|---|
| Hex washer head | High driver engagement and efficient metal or roofing installation |
| Pan head | Broad bearing surface for general sheet-metal work |
| Countersunk head | Flush finish where the material allows countersinking |
| Button or low-profile head | Reduced projection and a cleaner appearance |
| Sealing washer head | Weather-resistant roofing and cladding connections |
A countersunk screw should not be used merely for appearance if the sheet is too thin to support the head correctly.
5. Match the Fastener to the Environment
Consider:
- Indoor or outdoor exposure
- Coastal distance
- Humidity and condensation
- Industrial pollutants
- Contact with treated timber
- Compatibility with roofing or cladding materials
- Required service life
Fastener material, protective coating and washer system should be compatible with both the substrate and the environment.
Correct Installation Process
Follow this general process when installing self tapping screws:
- Confirm the screw is suitable for the substrate and total thickness
- Mark the fixing position and check for concealed services
- Drill the specified pilot hole when required
- Fit the correct driver bit or socket
- Hold the screw perpendicular to the work surface
- Begin at a controlled speed to prevent wandering
- Allow the screw to cut or form threads without excessive pressure
- Reduce speed as the head approaches the surface
- Stop when the materials are clamped and the washer is correctly seated
- Inspect the connection for deformation, stripping or coating damage
Five Installation Mistakes to Avoid
Using Maximum Driver Speed
High speed can generate heat, damage the point and make the screw difficult to control. Start slowly and use only the speed needed for steady penetration.
Assuming Pilot Holes Are Never Required
Self tapping refers to forming threads, not necessarily drilling the initial hole. Check the point design and application specifications.
Using a Damaged Screw Again
Once the point, coating, threads or head has been damaged, the screw may no longer provide its intended performance.
Overtightening Sealing Washers
A roofing washer should be compressed sufficiently to seal, but it should not be crushed or forced out from beneath the screw head.
Mixing Incompatible Metals
Combining incompatible fastener and substrate materials can increase the risk of galvanic corrosion, particularly when moisture is present.
When Should Self Tapping Screws Be Replaced?
Inspect the fasteners if you notice:
- Rust around the head or washer
- Loose or lifted sheets
- Water marks near fixing points
- Cracked or hardened washers
- Stripped screw heads
- Screws sitting at inconsistent angles
- Dents around the fastening point
- Fasteners that continue spinning
- Movement or noise in the connected panels
Replacement should address the original cause. If the hole is stripped, corroded or enlarged, inserting the same screw into the same hole may not restore the connection.
Roofing, structural and safety-critical fasteners should be assessed by a qualified installer or engineer when failure is widespread or the substrate has been damaged.
Frequently Asked Questions About Self Tapping Screws
Q:Do self tapping screws need a pilot hole? +
Q:Can self tapping screws be used in steel? +
Q:Why does my self tapping screw keep spinning? +
Q:Can I reuse self tapping screws? +
Q:How tight should a self tapping screw be? +
Q:Why do self tapping screws break? +
Q:Can a stripped self tapping screw hole be repaired? +
Q:Are stainless steel self tapping screws always the best choice? +
Q:What is the difference between self tapping and self-drilling screws? +
Q:Can self tapping screws be used for roofing? +
Improve Fastening Reliability with the Right Self Tapping Screws
The performance of self tapping screws depends on more than the screw itself. Material thickness, pilot hole size, thread design, corrosion protection, tool speed and installation torque must work together.
If screws repeatedly spin, snap, loosen or corrode, replacing them without identifying the cause may only provide a temporary solution. A properly selected and correctly installed fastener improves construction efficiency, reduces maintenance and supports a safer, longer-lasting connection.
Atlas Fasteners supplies premium fastening solutions for commercial and residential construction applications. If you need help selecting self tapping screws for metal, roofing, cladding or general fabrication, contact our team for product information and professional fastening advice.