
Latest News
- Home
- Latest News
- Over-Torquing: Signs, Damage & How to Prevent It | Atlas
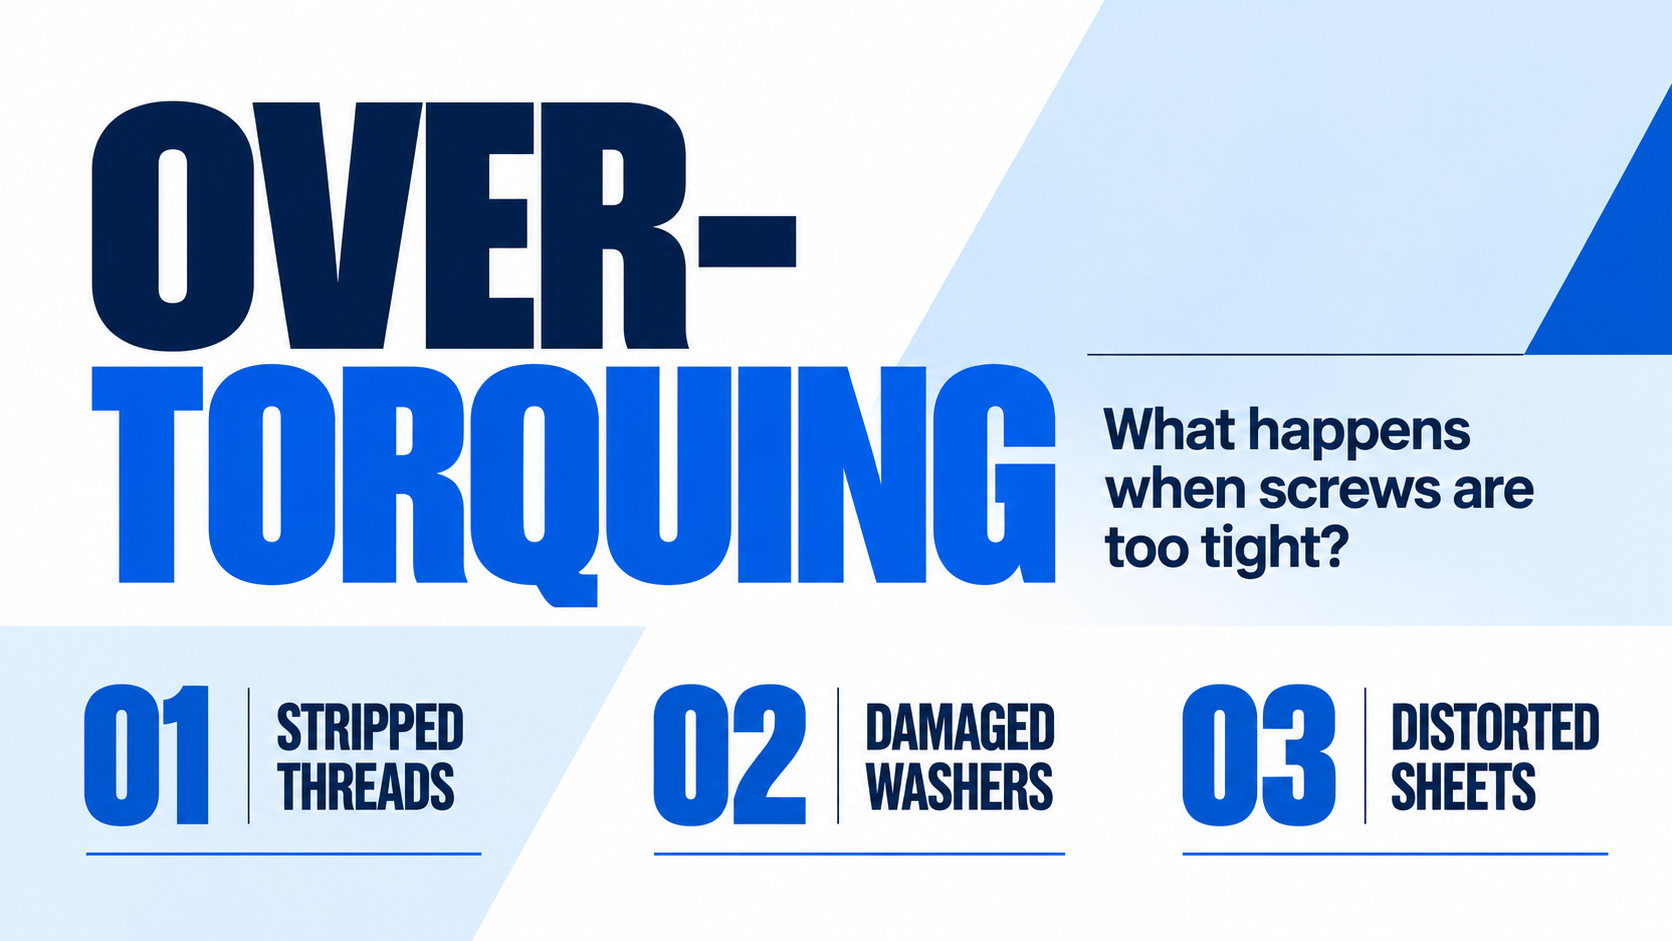
A roofing screw keeps turning after it seats. The washer spreads out beneath the head. The roof sheet starts to pull down around the fixing.
These can be warning signs of over-torquing—an installation error that can damage the fastener, its sealing washer or the material holding it.
For builders and installers, the consequences may include leaking fixings, damaged sheets and connections that need rework. Understanding when to stop tightening starts with choosing a screw suited to the actual connection.
This guide explains what over-torquing means, what to look for during installation and how to reduce the risk in roofing, cladding and general fastening work.
What Is Over-Torquing?
Over-torquing means applying more tightening torque than the specified or suitable limit for a fastener and its connection. Torque is the turning force applied by a tool. Excessive torque can overstress the screw, strip the receiving threads or damage the components being joined.
For bolted joints, tightening normally creates tension in the fastener and compression between the connected parts. However, torque is an indirect way of controlling that tension: friction, coatings and lubrication affect the result. A higher tool reading does not automatically mean a better connection.
With self-drilling roofing screws, the installer must also manage drilling, thread engagement and final seating. The finished connection needs secure engagement and the correct seal without damage from excessive driving.
Over-Torquing vs Overdriving
The terms are related but describe different aspects of the problem:
| Term | Meaning | Typical example |
|---|---|---|
| Over-torquing | Applying excessive tightening torque | Stripping threads or overstressing a screw |
| Overdriving | Driving a fastener beyond its intended seating position | Crushing a sealing washer or pulling the head too far into a sheet |
| Under-tightening | Failing to achieve the required seating or tightening condition | Leaving an insufficiently compressed sealing washer |
A roofing screw may be both over-torqued and overdriven during the same installation.
What Happens If You Over-Torque a Screw?
The damage depends on the screw, substrate and connection. The weakest part may fail before the screw itself breaks.
1. Threads Can Strip
Excessive tightening can damage the screw threads or the receiving material.
A screw that turns without tightening may have lost effective engagement. Continuing to drive it will not restore the damaged threads.
In thin steel, the supporting material may strip while the screw remains visibly intact. In timber, excessive driving can damage the material around the fixing.
2. The Fastener Can Deform or Break
Excessive loading can permanently deform a fastener or cause fracture. Damage may occur during installation, while some overstressed connections can fail later in service.
For conventional bolts intended to remain elastic, permanent stretching is a concern because it changes the fastener’s condition. Specially designed torque-to-yield fasteners follow different installation procedures and should not be treated as ordinary reusable bolts.
3. Sealing Washers Can Be Damaged
Roofing screws commonly rely on a sealing washer beneath the head. Excessive driving can damage that washer and compromise its ability to keep water out.
A washer that is severely squeezed out, split or displaced should prompt inspection. Tightening further can make the damage worse.
4. Sheets and Other Components Can Distort
The fastener may remain intact while the connected material deforms. Around a roofing fixing, this can appear as local indentation or distortion.
Polycarbonate roofing also requires particular care: fixing details must accommodate the sheet manufacturer’s requirements for movement and installation.
An intact screw head does not prove that the connection is undamaged.
Signs of Over-Torquing During Installation
Check the complete fixing, including the screw, washer, sheet and supporting material.
| Warning sign | What it may indicate | Next step |
|---|---|---|
| Screw spins without tightening | Stripped engagement or an unsuitable fixing | Stop driving and assess the connection |
| Washer splits or squeezes out excessively | Excessive compression or incorrect seating | Inspect against the product instructions |
| Sheet visibly deforms around the head | Overdriving or an unsuitable installation detail | Check the fixing method and tool setting |
| Head breaks during installation | Excessive loading, binding or another installation problem | Inspect before installing replacements |
| Similar damage appears across several fixings | A repeated tool, product or method issue | Pause work and review the installation setup |
These signs are diagnostic clues. For example, a spinning screw may also have missed the supporting member, and a damaged head can result from a poorly fitting driver bit.
Avoid assuming that every failed fixing has the same cause.
What Causes Over-Torquing?
Using the Wrong Tool or Setting
A powerful driver can move quickly from seating a screw to damaging the connection. Limited control during final seating increases the risk.
Use the tool type and settings recommended for the specific fastener. A clutch setting is a tool adjustment; it should not be assumed to represent a calibrated torque value in newton metres.
Selecting a Screw That Does Not Suit the Substrate
The visible sheet is only one part of the connection. The screw must also suit the supporting steel or timber.
Before installation, confirm:
- The material being fixed and the supporting substrate.
- The supporting steel thickness or relevant timber conditions.
- The screw’s drilling capacity, thread design, length and sealing arrangement.
If a screw struggles to drill or engage, increasing force or tool output may compound the problem.
Continuing After the Screw Has Seated
An extra trigger pull can over-compress a washer or damage engagement that was already adequate.
Installers need a clear, product-specific seating reference rather than relying on the assumption that another turn improves security.
Changing Friction Conditions
Lubricants, coatings and sealants can change the relationship between applied torque and fastener tension. A torque value established for one condition may be unsuitable for another.
Do not add oil, grease or anti-seize unless the installation specification permits it.
How to Prevent Over-Torquing
1. Start With the Correct Fastener
Confirm the screw is suitable for the materials, thicknesses and connection detail before adjusting the installation tool.
For roofing work, also check the washer arrangement, exposure conditions and compatibility with the roofing system.
2. Follow Product-Specific Installation Instructions
There is no single torque setting suitable for every roofing screw or self-drilling screw.
Follow the fastener and roofing system instructions for tool selection, operating speed, seating and any specified torque requirements. Where the connection is engineered, follow the project documentation.
Generic bolt torque charts should not be used to set roofing screw installation torque.
3. Control Final Seating
Use the recommended driver and any specified clutch or depth-control system. Keep the driver aligned with the screw and avoid continuing once the required seating condition has been reached.
For connections with a specified measured torque, use an appropriate calibrated torque tool and the prescribed tightening procedure.
4. Inspect the First Fixings
Before repeating the installation across a roof or assembly, check the first fixings for:
- Correct engagement with the support.
- Suitable head and washer seating.
- Damage to the screw, washer or surrounding material.
Repeat these checks when the substrate, screw type or installation setup changes.
5. Give Installers a Clear Acceptance Reference
A shared reference for acceptable seating makes inspection more consistent. Use the manufacturer’s diagrams, installation guidance or an approved sample.
Instructions such as “make it tight” leave too much room for interpretation.
What Should You Do With an Over-Torqued Screw?
Stop driving and assess the whole connection. Simply loosening the screw does not establish that the fixing is suitable for service.
Check whether the problem involves the screw, receiving material, washer, sheet or several components together.
| Condition found | Appropriate response |
|---|---|
| Damaged fastener | Replace it with the specified suitable fastener |
| Damaged sealing washer | Follow the approved replacement procedure |
| Stripped receiving material | Obtain a repair detail suitable for the substrate and required performance |
| Distorted or cracked sheet | Assess whether sheet repair or replacement is needed |
| Damage in an engineered connection | Refer the condition for technical assessment |
A larger screw, additional sealant or a nearby replacement fixing may require approval for the particular roofing system or connection. Choose the repair based on the damage and required performance.
Frequently Asked Questions About Over-Torquing
Q:Can Over-Torquing Cause Roof Leaks? +
Q:Is a Screw Safe If It Has Not Broken? +
Q:Can I Fix an Over-Torqued Screw by Backing It Off? +
Q:What Torque Should I Use for Roofing Screws? +
Q:Can an Impact Driver Cause Over-Torquing? +
Choose the Right Fastener Before Installation Starts
Preventing over-torquing begins with understanding what the screw must drill through, engage with and hold in place.
At Atlas Fasteners, we supply self-drilling and self-tapping screws for steel-to-steel and steel-to-timber applications, supporting commercial and residential building projects across Australia and Oceania.
Planning a roofing, cladding or steel framing project? Send our team the sheet material, supporting substrate, steel thickness where applicable, and required screw dimensions. Include photos if you are investigating an installation problem.
These details help us discuss suitable Atlas fastener options and identify the product information needed before work proceeds.
Contact Atlas Fasteners:
+61 3 9528 8997