
Latest News
- Home
- Latest News
- How to Install Polycarbonate Roofing: Choosing the Right Screws and Fixing
2026.03.19
Latest News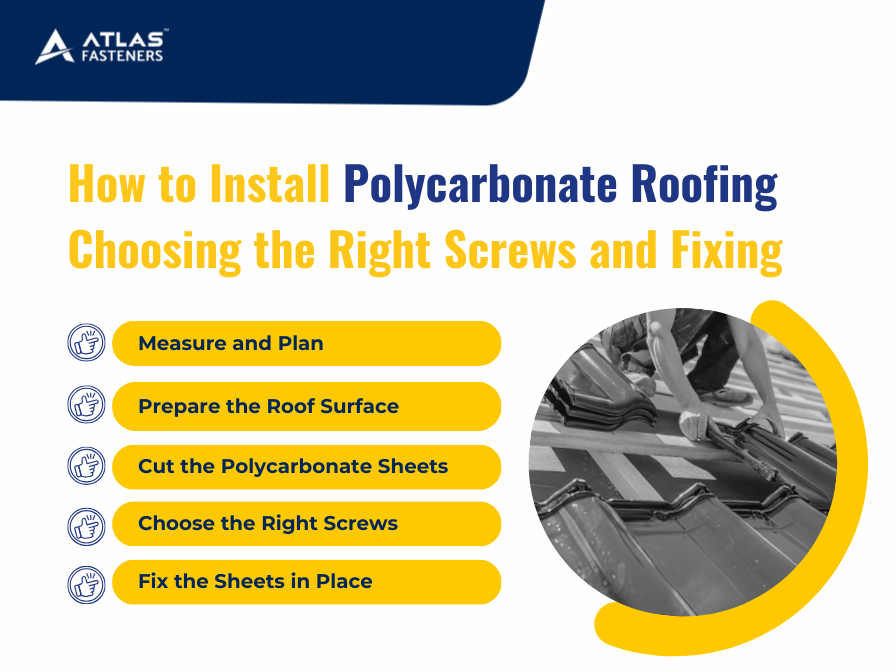
Polycarbonate roofing is a widely recognized material for both residential and commercial buildings, known for its combination of durability, UV protection, and aesthetic clarity. It allows natural light to pass through while providing excellent heat insulation. However, when it comes to installing polycarbonate roofing, the correct choice of materials and installation methods is critical to ensure long-term performance.
This article will guide you through the process of choosing the right polycarbonate roofing screws and follow the correct fixing instructions for an efficient and secure installation.
Whether you are installing polycarbonate sheets for a new project or replacing an old roof, understanding the materials and techniques involved will save you time and reduce the risk of future issues, such as leaks and structural instability.
How to Install Polycarbonate Roofing
Installing polycarbonate roofing is not only about laying the sheets correctly but also ensuring they are securely fastened to withstand harsh weather conditions. Below are the essential steps to ensure your installation is successful:
Measure and Plan:
Begin by measuring the area where the polycarbonate sheets will be installed. Check the measurements twice to ensure you have the correct number and size of polycarbonate panels. Planning the layout of the sheets ensures they are cut to fit the space without waste.
Prepare the Roof Surface:
The roof surface should be clean, smooth, and dry. If there are any old materials or debris, remove them to ensure a firm base for the polycarbonate sheets. Consider applying a layer of primer to the roof surface if necessary to ensure a better grip for the fasteners.
Cut the Polycarbonate Sheets:
Polycarbonate sheets are relatively easy to cut, but they should be done with a fine-toothed saw to prevent cracking or chipping. Always wear safety glasses when cutting the material. Measure and cut the sheets with precision, leaving room for expansion due to temperature changes.
Choose the Right Screws:
The choice of screws is critical. Polycarbonate roofing requires screws that can securely hold the sheets in place while allowing for natural expansion and contraction of the material due to temperature changes. Opt for self-drilling screws designed for use with polycarbonate to simplify installation and prevent leakage.
Fix the Sheets in Place:
Once the sheets are aligned, it’s time to start fixing them. Place the polycarbonate sheets carefully, ensuring the UV-protected side faces outward. Screw the sheets into place, starting at the edges, and then work your way toward the center. Always ensure the screws are not overtightened to prevent damage to the sheets.
Choosing the Right Polycarbonate Roof Screws
Choosing the right screws for your polycarbonate roofing is vital for ensuring a secure and long-lasting installation. There are several options available, each designed for different applications and materials. Here is a breakdown of the most common types of screws used for polycarbonate roofing:
| Screw Type | Best For | Key Features |
| Self-Drilling Screws | Ideal for quick installation without the need for pre-drilling holes. | Self-tapping point, corrosion-resistant coating, fast installation, no pre-drilling required. |
| Polycarbonate Roofing Screws | Specifically designed for use with polycarbonate sheets. | Includes rubber washers for water-tight seals, UV-resistant coating for long-lasting durability. |
| Wood Screws | Used when installing on a wooden frame. | Corrosion-resistant, suitable for attaching to wood structures. |
Among these options, self-drilling screws are often the best choice for polycarbonate roofing due to their ability to drill through the polycarbonate sheets without the need for pre-drilling. The rubber washers help create a watertight seal, preventing leaks that could cause damage over time.
Polycarbonate Roofing Fixing Instructions
Properly fixing the polycarbonate sheets ensures the roof remains stable and waterproof for years to come. Follow these detailed instructions for fixing your polycarbonate roofing:
Pre-Drill the Holes:
If you are not using self-drilling screws, use a 6mm drill bit to create holes in the polycarbonate sheets. Be sure that the holes are slightly larger than the screws to allow for thermal expansion.
Position the Sheets Correctly:
Polycarbonate sheets should be installed with the UV-protected side facing outwards. This side should always face the sun to maximize the lifespan of the material.
Install the First Screw:
Start by placing the first screw at one end of the sheet. This ensures that the sheet is secured at the edge, preventing movement during installation.
Secure the Sheets:
Continue securing the polycarbonate sheets by placing screws along the length of the panel, ensuring they are evenly spaced. Be careful not to overtighten the screws, as this can cause the sheets to crack.
Use Rubber Washers:
Place rubber washers under each screw head to create a watertight seal. This is particularly important in preventing water from seeping through the holes and into the structure below.
Apply Sealant:
Once all the sheets are fixed, apply silicone sealant along the edges and seams to further ensure water resistance and prevent leaks.